Belgian Liege gunmakers
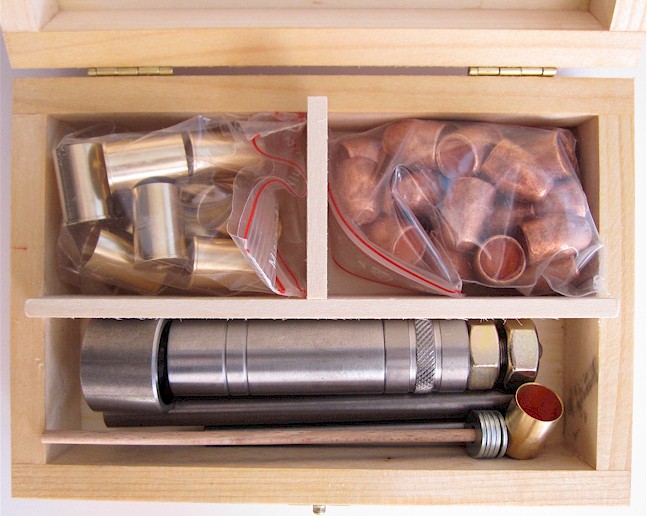
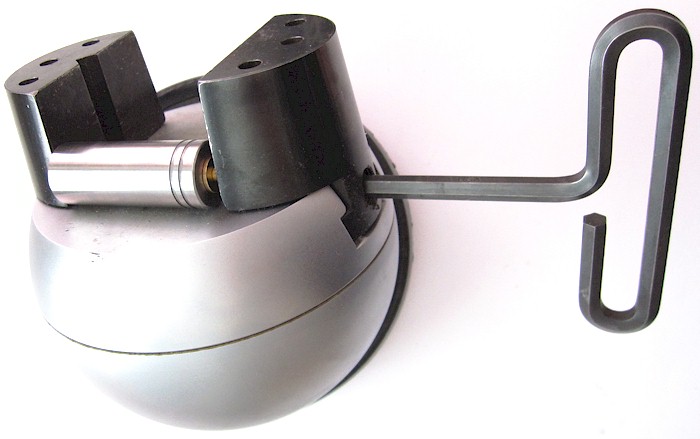
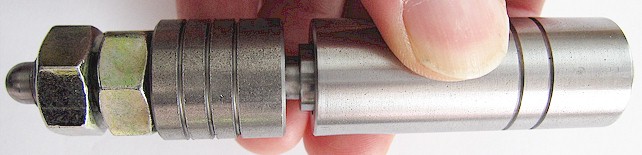
- Tools furnished: Base,
resizing cylinder, adjustable pushing tool, case ejecting rod, primer cap ejection rod,
power measure. 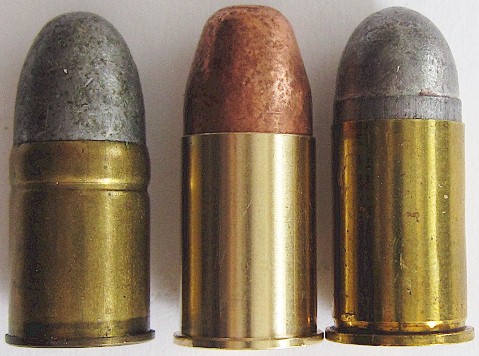
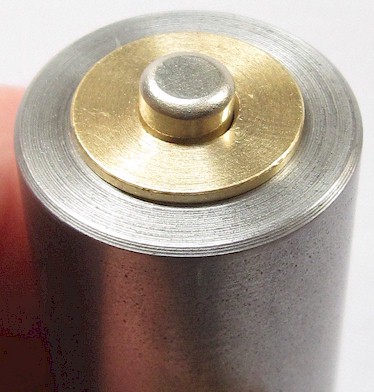
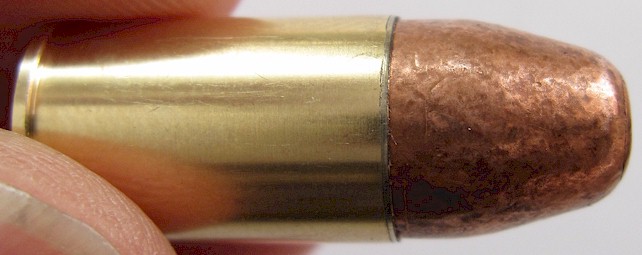
Our .450
case (center) versus a vintage Adams model (left) and a modern production (right)
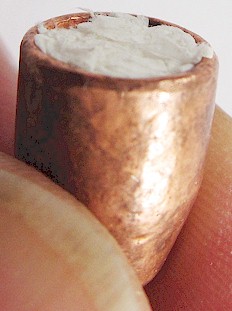
Our bullet is copper
jacketed and deeply hollowed
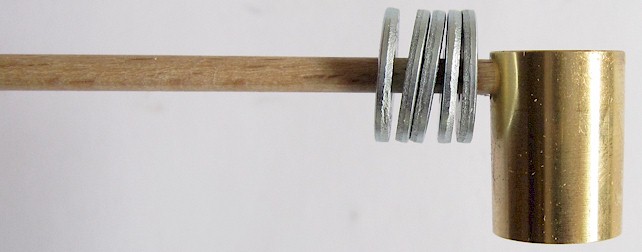
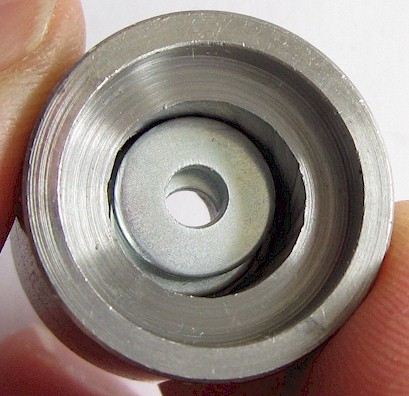
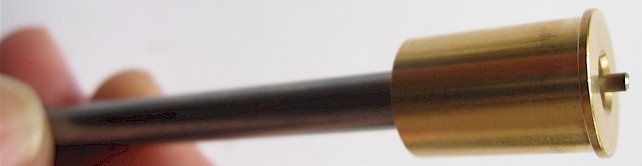
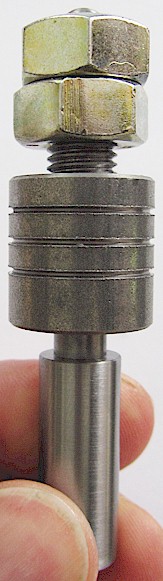
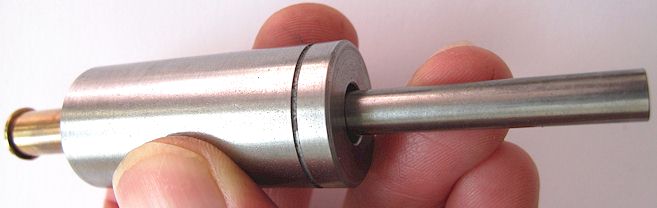
The resizing cylinder is used at one of its opening to guide the bullet inside the shell and in the other to resize the fired shell if necessary. The pushing tool is a rod which is threaded on its upper end. On the threaded section is attached a central round nut that will can be positioned to mark the correct seating of the bullet inside the shell. Once the right positioning of the round nut is reached, the two polygonal nuts are used to lock it.
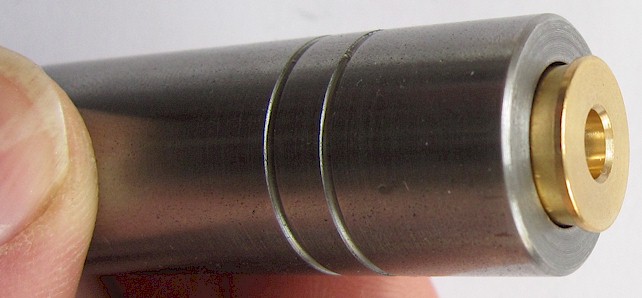
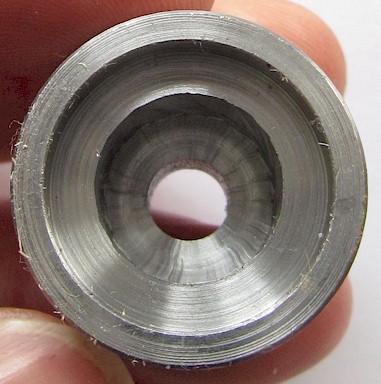
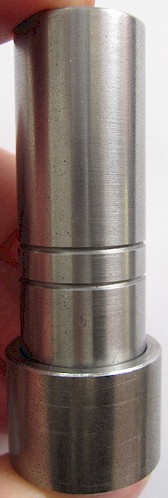
The cylinder opening used to install the bullet inside the shell is marked with two external grooves. When pushing a shell through this opening, it is eventually stopped by a tapered abutment used for the crimping (if necessary).
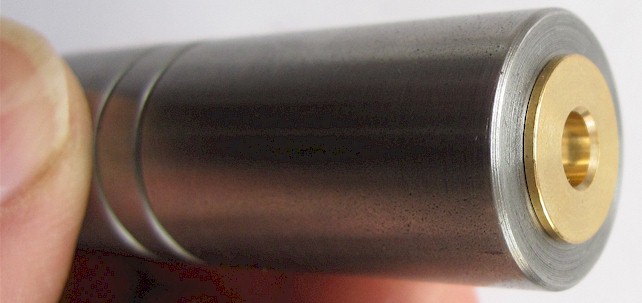
The cylinder opening used to resize the shell has no external groove. The fired shell is simply pushed through this opening until its rim comes in abutment against the cylinder. It is wise to lube the shell's external surface before pushing it inside this opening of the cylinder. This will help the ejecting rod to push it out.
The ejecting rod is a mere piece of steel calibrated to enter inside the shell. When the shell is locked by friction in the resizing opening of the cylinder, the rod is entered by the other opening of the cylinder and is used with a mallet to expulse the shell.
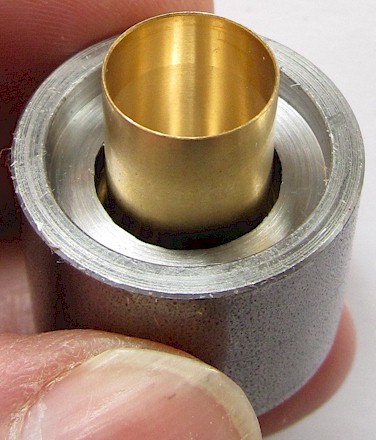
The base is used to position the shell vertically in its central recess. A shoulder is available to receive the both side of the cylinder.
"Crimping" washers inside the base central recess The powder measure is a simple means to pour the powder inside the shell. It must not be taken for a precise tool intended to provide the exact quantity of powder. The four washers provided are used to raise the bottom level of the base central recess for crimping purpose.
The primer cap ejection rod is used to push out the exploded primer cap. To ease the de-capping, the shell can be positioned on the base which has its central recess drilled throughout.
As to the quantity of powder to pour inside the shell, as far as black powder is concerned there is only one rule: No pocket of air left between the upper level of the powder and the base of the bullet. This means that if you desire to make a weaker cartridge, you let drop a small quantity of powder in the case, and you fill the remaining empty area to reach the bullet base with another neutral powder like kapok fiber for instance.
The bullets provided in this kit have their base deeply hollowed. If one decides to install the priming cap first, this will render the evaluation of the right quantity of powder more difficult because of the pocket of air inside the bullet that must be taken into account. The most easiest way to circumvent this issue is to fill the bullet base with a plug of toilet paper. From then on, the bullet making can follow a very classical way as explained below.
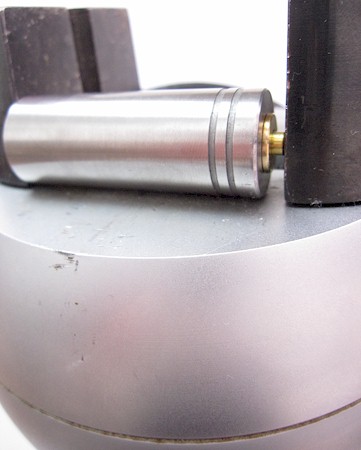
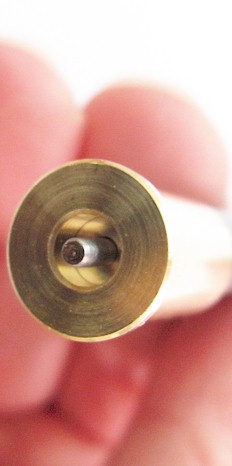
Cartridge case slid inside
the resizing opening of the cylinder
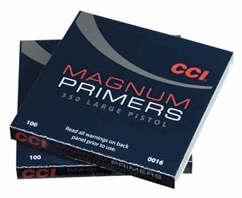
The primer used for these cartridge is of the "Large Pistol" type. When the priming cap is correctly positioned on the opening of the primer pocket, it must be pressed inside it. There is many ways to perform this operation, but one of the most secure is to use a vise. Note, that the pictures just below relates to another centerfire caliber. In the .450 caliber, it is the resizing opening of the cylinder (no external grooves) must be used to hold the shell.
The whole assembly (resizing tool and cartridge) is positioned between the jaws of the vise, and the priming cap is gently forced inside the case pocket.
Install the primed case on the base ring as shown above, and fill the case with black powder until reaching the limit of the bullet seating (must be evaluated before). The primer measure furnished with the kit can be used as a mere spoon, it was not calibrated for the exact quantity of powder.
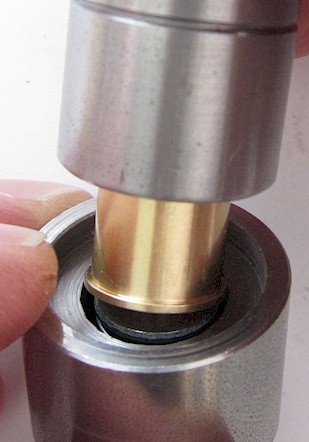
Engage now the base of the lead bullet in the mouth of the case with its load of powder. Try to position the bullet as most vertical as possible to ease the next step.
Put the resizing tool above the base ring so as to surround the cartridge. Note, that the two external grooves of the cylinder are below.
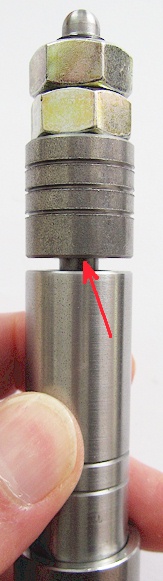
Take now the seating rod, and let it drop inside the resizing tool until it is stopped by the bullet. The gap (red arrow) between the cylinder upper edge and the cylindrical nut of the seating rod provides the deepness of the seating. This gap must be adjusted to meet the desired requirements. Once the gap is considered as correct, the cylindrical nut is locked by the two other polygonal nuts. With a nylon mallet strike now the seating rod until it comes in abutment against the top of the cylinder.
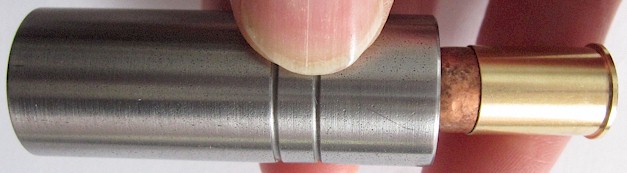
Cartridge removed from the cylinder Once the bullet is seated, the cartridge is removed from the cylinder. It is ready for firing but the bullet is not crimped
If you desire to have the cartridge the most powerful possible, you have to pour enough powder to fill the shell and also the deep recess of the bullet base. This can be hardly done if the primer is already installed because you have to push the bullet without being very sure if the powder inside the case will correctly fill the bullet recess. Therefore the best way is to let the case unprimed, and start the making process by seating the bullet on the empty case.
When the bullet is seated, you engage the cartridge in one of the ends of the cylinder for sake of a better stability. You let then drop the powder by the primer pocket central hole, until complete filling of the shell. You are now certain that there is no gap of air between the powder and the bullet. The next step is to install the primer. This must be performed a little bit more cautiously because of the powder already present inside the shell.
If you make powerful cartridges, it is perhaps wise to crimp the bullet in order to prevent any unseating because of the recoil. The crimping is a mere reduction of the case diameter (generally at the mouth) to increase the grasping of the bullet in this area.
The four washers provided with the kit must be positioned inside the base central recess in order to raise its bottom.
The cartridge must be entered in the cylinder by the opening with the two external grooves and the whole is positioned on the base with the washers. There is consequently a small gap between the lower edge of the cylinder and the upper edge of the base central recess.
Crimped cartridge expelled by the seating rod
Bullet crimped The cylinder must be pressed (using a vise or a mallet) against the base. The tapered abutment inside the cylinder will compress the shell opening edge against the bullet. Of course, the mouth of the shell will remain wedged inside the cylinder. To expel the cartridge, just push it using the seating rod.
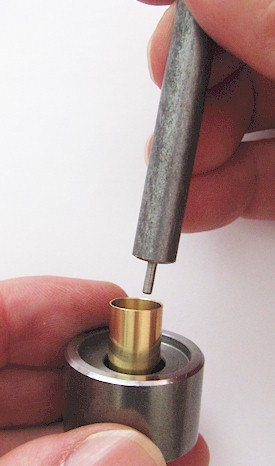
- Removal of the fired primer
Removal of the crushed primer cap After firing, in order to re-use the case, the primer must be first removed. This can be done using the short rod with a thinned extremity. The case is positioned on the base ring, and the de-capping rod is introduced inside the case. The thin extremity bears against the inner face of the primer cap. You have just to tap in the rod until the primer is pushed out of the case pocket.
The cartridge case, which is very strongly made, is generally only very slightly widened by the explosion and could probably be re-used without resizing. If resizing proves necessary, it can be done using the resizing tool. Clean the case, and lube it on its external face. Then enter it in the extremity of the cylinder which opposite to the one with the external grooves. Press the case until being in abutment against the cylinder opening. This should be done more easily using a vise (with padded jaws), but a nylon mallet can also be used.
To push out the resized shell, use the intended rod provided in the kit.
.380 CF - .320 CF- .32 S&W - .38 SW- .450 Webley RELOADING KITS and COMPONENTS - PRICE LIST H&L
Home Page
|
Reloading
.450 - .455 - .460 centerfire cartridges
Rimfire Reloading
Reloading .32 .38 .41 rimfire
cartridges
Pinfire reloading
Reloading pinfire cartridges 11mm French revolver reloading
kit
|
||